


You already know that the iPhone can take great photos, but if you’re ready to take your iPhone photos to the next level, here are five tips from Scott Kelby’s new book, The iPhone Photography Book, that can make a big difference (and help you get the best shots you’ve ever taken with your iPhone).
1. Super-Quick Lighting Fix
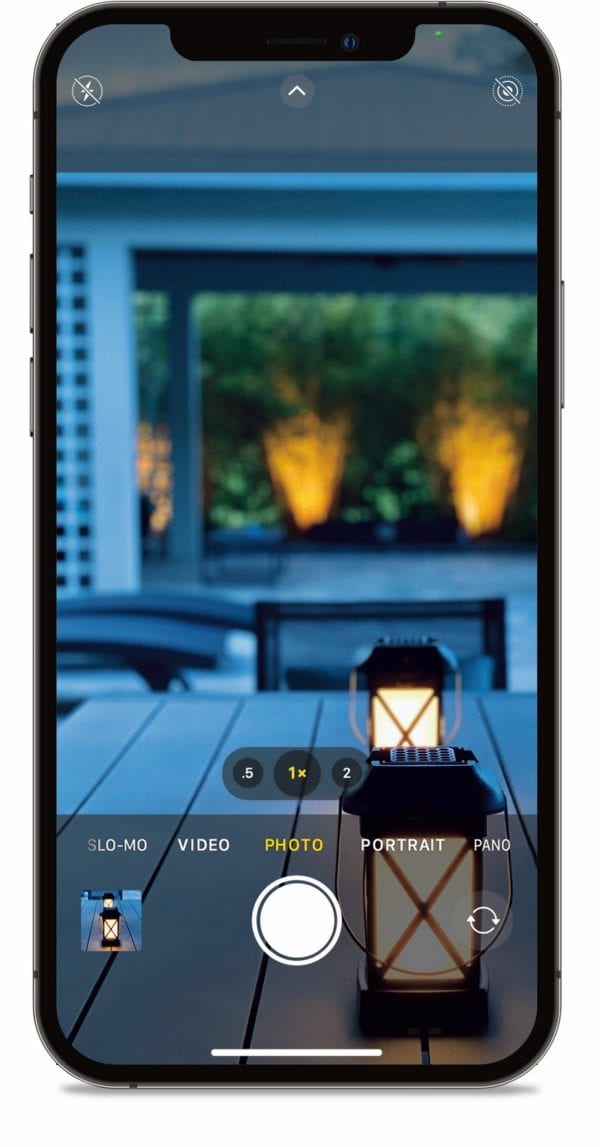
Getting your tone right—where your photo isn’t too dark or too bright—is a big thing when it comes to getting great photos with your iPhone, and it’s actually really easy to do (once you know the secret). After you tap once on the screen (right on what you want to be in focus), you can make the image brighter by holding your finger on the screen and dragging it up to make it brighter, or it down to make it darker. This makes a bigger difference than you’d think.

2. Making Your Photo Fill the Screen
Have you noticed that when you take a photo with the iPhone’s camera it doesn’t capture the entire screen? It leaves blank areas at the top and bottom (if you’re shooting vertically) or on the left and right (if you’re shooting horizontally). If you want an image that fills the entire screen, there’s a trick for that: switch your Camera app to shoot in Video mode. You’ll notice two things: (1) the video fills the entire screen, and (2) once you hit the red record button, there’s now a little white shutter button that appears onscreen. When you tap that white shutter button, it takes a still photo, and like the video, it fills the entire screen. When you shoot video, by default, it zooms in closer than the regular camera does, so your still image will be zoomed in a bit closer as well. But, it’s better than just cropping a still image because cropping your still image would make it smaller, and it wouldn’t fill the screen like this video trick does, so it’s definitely worth trying. I know a number of iPhone photography pros who only shoot in Video mode for that very reason.

3. An Easier Way to Take Your Shot
Besides just tapping the round shutter button onscreen, there is another way, perhaps even a handier way, in many cases, to take a photo. This very popular way is to use the actual volume up or volume down buttons on the outside of your iPhone. When you have the Camera app open, and you press either the volume up or down button (as seen here), it takes a picture. It’s super-convenient, and my guess is once you try it, you’ll fall in love with doing it like this.
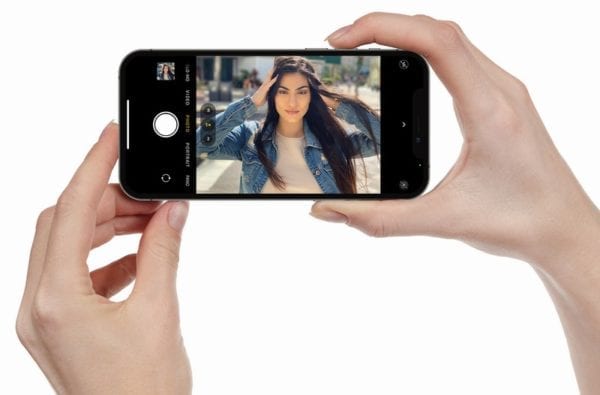
Woman hand holding the black new smartphone with blank screen isolated white background. hands using phone clipping path
4. Killer Tip to Keep from Missing the Moment
If you see something cool that you want to take a photo of, and time is of the essence (you need to get to your camera quickly), don’t unlock your iPhone and launch the Camera app and all that (you’ll have already missed the shot!). Instead, just pick up your iPhone and swipe left on the screen. That takes you directly to the Camera app and you’re ready to shoot. You don’t have to unlock the iPhone or anything—it’s just ready to go. This is ideal for times when your friend leaves their locked iPhone on the table at a restaurant and goes to the restroom for a moment. I’m not suggesting you pick up their iPhone, swipe to the left, and start taking random pictures and selfies before placing it right back into the same spot where they left it, so the next time they go to their Photos app they see all these odd pictures, and then finally a selfie of you, but…I’ve heard of people who have done things like this. Not me, mind you. Other people. I’m sure.
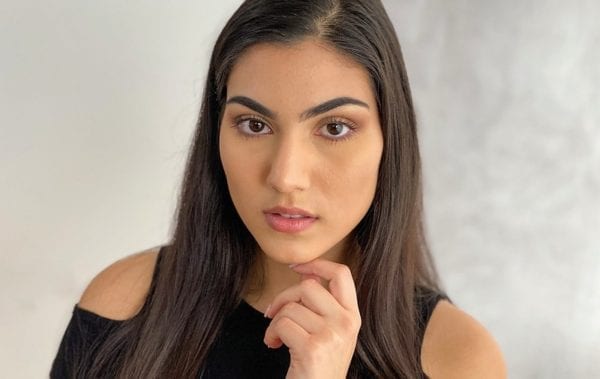
5. Want a Better Portrait? Cut Off Their Head. Well…at Least Part of It
Cutting off the tops of people’s heads in portraits is a super-popular look these days, as long as you cut off enough so that it doesn’t look like a mistake. It should look like you did it intentionally, otherwise you’ll hear people say, “Oh, that’s such a nice shot of him. Too bad you cut off the top of his head.” It has to be at least 1/3 of their hair or head to where it looks so intentional that nobody questions it. This brings your subject closer to the person viewing the shot, it makes the shot more intimate, and it gives it a more professional look (you’ll see this “cropping off the top of the head” look in ads on the web, in magazines, in product photography— it’s pretty much everywhere).
Excerpted from The iPhone Photography Book by Scott Kelby (Rocky Nook). Copyright © 2021 Scott Kelby. Reprinted with permission from Rocky Nook. San Rafael, CA. All rights reserved.